These are alphabet and counting activities. I cut out circles from colored pieces of paper, and then divided them into sections with a black marker. For the numbers activity, I put gold star stickers in the sections (a different number of star stickers per section). I then numbered clothespins with the correct numbers, so E can count the stars and attach the clothespin to the correct section. I laminated them so they are sturdier. For the alphabet activity, I wrote a different capital letter in each section. I then wrote lowercase letters on clothespins so she could match the lowercase letter to the uppercase letter:

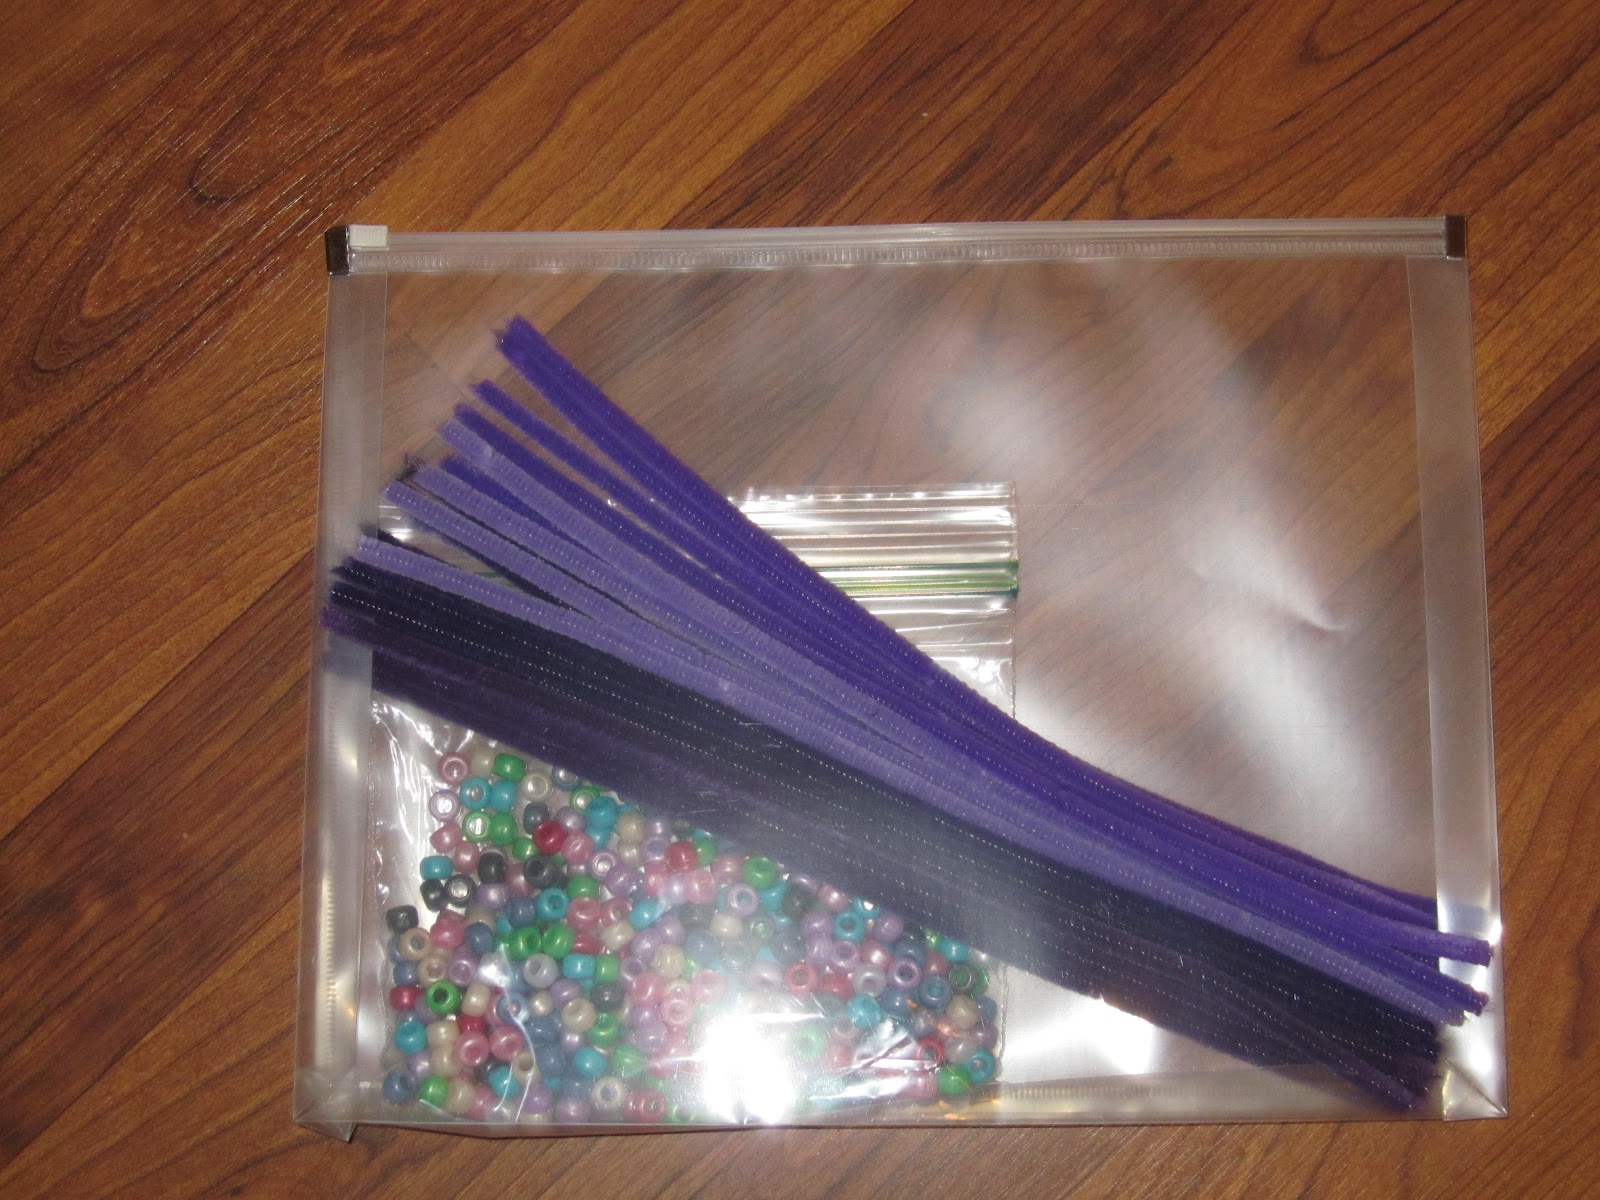
Purple pipe cleaners and some big beads so E can string beads on the pipe cleaners:
Coloring and activity sheets: I printed off free coloring sheets from Crayola's website, and I also got free coloring sheets from Scholastic's website (Clifford the Big Red Dog, since E loves him) and from PBS Kids' website (Curious George). The "E" made out of dots is part of an entire alphabet of "dot" letters that someon made. I have a bag of dot markers to color the dots on the "E" and the other letters. I got the dot letters here: http://totschool.shannons.org/?p=2112

I printed off a travel scavenger hunt from momsminivan.com, and a travel bingo game (that the kids can color) on Crayola's website:

These are paint chip cards that I picked up from Home Depot; I cut them in half and cut small pieces of paint chips and taped them to clothespins, so E could match the clothespin to the correct color:

For the activity below, I cut up pieces of card stock to make strips. I then bought a big tub of foam shapes, and I created patterns on the card stock. I included extra shapes in the bag so E can find the correct shape to complete the pattern:

For the activity below, I cut pieces of card stock into strips and used foam shapes to make pictures that E will then have to recreate using the same foam shapes (I put the extra foam shapes in the bag):

I bought some play foam that comes in little balls and is not messy and does not dry out--you can mold it into shapes (you can break it apart into individual little balls, so I suppose it could end up getting a bit messy). This is the brand I bought: http://www.playfoam.com/. I found it at a school supply store:

Sticker books are always a big hit in the car; I especially like the Storytime Stickers branch, Usborne sticker books, and the Little Dover sticker books (the Dover ones are incredibly cheap, just $1 or 1.50 each):

For the activity below, I took an old pill reminder box (thanks grandma and grandpa!) and wrote numbers on pieces of paper and taped them to each section of the pill box. I then put chocolate Cheerios and dried cherries in two separate bags. I'm going to have E count the correct number to put in the box, and maybe do addition activities by adding a certain number of cherries and Cheerios to each section. She can then eat the results! The pill reminder box that my in-laws gave me is awesome, because you push on a little button and that section pops up. Also, it's a bigger-sized one, so it can fit more Cheerios and cherries:

The below activities were ones that I bought. The item on the left is a pegboard that comes with colored rubber bands that you can put around the pegs to make designs. On the front of the board ar squares, and the back has a heart shape. I bought it at a school supply store, and it was really cheap. The item on the right-hand side is one of those magnetic fishing games. I don't remember where I bought it, but it was only $1-2 since it's a small, wind-up version (no batteries required):

I got the idea for the below activity from a post on Pinterest. They are popsicle stick puzzles made from wooden craft sticks. Print out a photograph (or clip art or any sort of picture) on paper. Then, take the number of craft sticks you will need and line them up. Place the picture on the craft sticks, and put masking tape down the sides of the craft sticks so they will stay in place while you glue the picture on. Then, glue the picture on. After you have glued it on (I let it dry for awhile), cut the craft sticks apart with a craft knife or box cutter or something lke that. Then, put each puzzle in a bag. Very easy and cheap:

These are lacing cards. There are tons of different kinds of them. We bought these for E last year for the car, and she liked them:

Below are another one of E's favorite car activities-magnetic activity sets. I especially like Imagentics brand:

Below is a Melissa and Doug Memory game for the car that E loves:

Below are photo albums I created for the kids so they can flip through and look at pictures of themselves and family:

I'm going to make that picture puzzle!
ReplyDelete